On my recent trip to Dublin, part of a paid partnership with Globus Journeys, I had the opportunity to take a cooking class – one of my favorite things to do when I travel. The cooking choice – well, actually it was baking, as you’ll learn below – is part of their Choice Touring program.
You might not realize why a tour adds so much to the Irish experience, but it does. My tour choice in Westport, County Mayo, was to take a baking class.
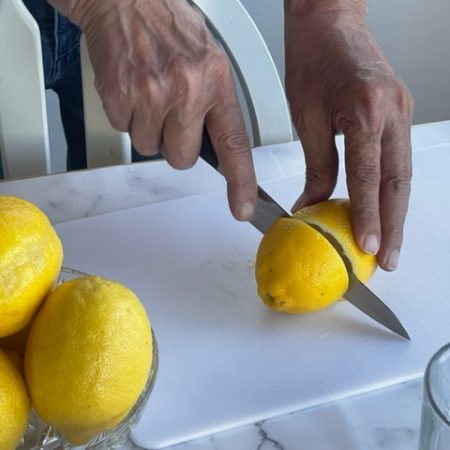
I love taking cooking classes when I travel. There’s a bonding that happens over sharing food and, if I’m lucky, I find recipes that I can make again when I’m at home. When I can’t take a class, I take note of what I’m eating and drinking and still try to make it at home – like Jordanian mint lemondade and an Aperol Spritz.
Choice Touring are Globus tours designed to provide a general group framework. Then, within that framework, are individual options for customization, independence, and flexibility. It’s almost like having your own personally designed tour. Choice Touring is a premium Globus product, but it’s priced only slightly more than regular group tours (approximately 10% more for lots of added choices).
Our tour was Green with Envy: Ireland by Design. You can find the 2023 tour details here. One of the things we did on the tour was to provide Globus with feedback on the various tour activities. The company cares about keeping its tours fresh and relevant; feedback matters.
I’ve previously written about my Dublin Literary Pub Crawl, a superb choice given my love of literature and all things reading-related. You can read about that here.
Choice Tours: Baking Irish Soda Bread
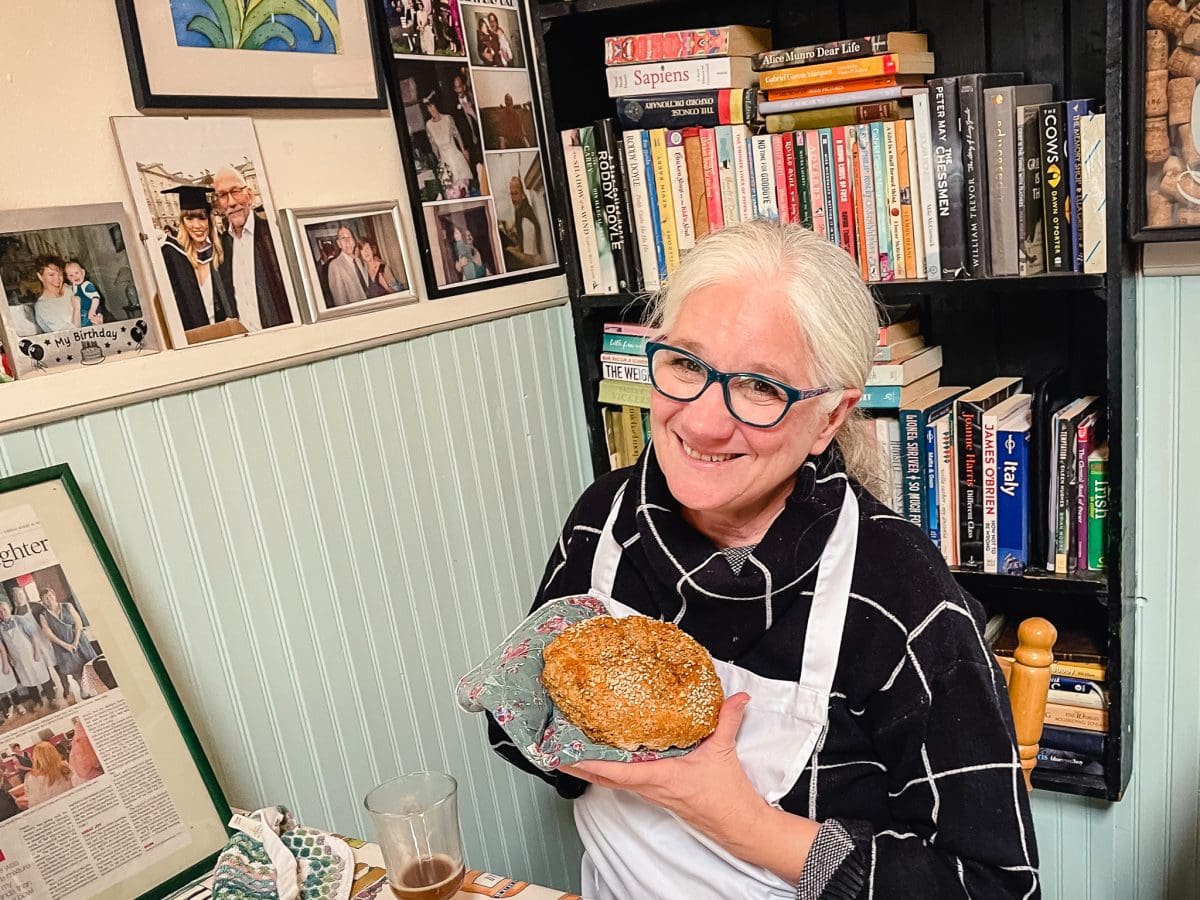
For my baking class, I met Mary and Carmel who not only taught our small group how to make scones and Irish soda bread but shared their personal Irish histories and stories. As we sipped a cup of tea and waited for our bread to bake, we talked about the books we were reading, movies, travel, teaching, British crime dramas, and so much more. It was like getting together with friends and a reminder of how very small our world is.
I left the class with a package of bread to share with the other travelers, recipes to make at home, and a long list of books and movies recommended by Carmel.
But what about baking when I got home? Could I do it? I’m not naturally a baker. It takes too much patience and I often run short of that. But it was so darned good and seemed so simple to make in our class, I figured let’s give it a go. I was determined not to resort to packaged soda bread mix.
And I did it – easy peasy.
Here is an easy guide on how to make the perfect, delectable Irish Soda bread at home. It is easy to make and you most likely have the ingredients needed in your pantry. With this traditional recipe, you will have freshly baked soda bread in about an hour using only four ingredients.
What is Irish Soda bread?
Irish soda bread is a traditional bread that was developed in Ireland during the famine in the 19th century. The bread gets its name because it was made with baking soda rather than yeast. This was an important distinction during times when yeast was in shortage. And, it meant that the bread could be made in much less time than bread requiring proving and rising (I’ve been watching Great British Baking Show, so I now know what all this means).
The first written record of Irish Soda bread dates back to 1836, but the bread was likely being made long before that. It quickly became a staple in many households because it was quick and inexpensive. And it’s tasty, too!
Traditional Soda Bread Ingredients
Irish soda bread became popular during a time of widespread famine. It became popular because it only required four ingredients to make, generally items that were reasonably available and relatively inexpensive. The bread it hearty and filling, another important factor at a time when Ireland was facing starvation and poverty.
Here are the ingredients you need to make Irish Soda Bread. Check your pantry, you may have them ready to go.
Flour: Both in my baking class and at home, I used basic all-purpose flour. You can also use whole wheat flour if you’d prefer.
Buttermilk: This will bring out the flavor and texture of the bread. I don’t regularly have buttermilk at home, so this was a special purchase for me. If you don’t have buttermilk on hand, you can make your own by adding 1 tablespoon of white vinegar or fresh lemon juice to 1 cup of milk. Let the mixture sit for five (5) minutes before using it. In famine days, families use normal fresh milk that had turned. I don’t think anyone is taking that option these days.
Baking soda: Also called bicarbonate of soda or sodium bicarbonate, this is the hero ingredient in soda bread. Baking soda eliminates the need for rising and allows bread-making and baking to be quicker.
Salt
How Did Irish Soda Bread Become Popular in the United States?
During the mid-1800s, the Great Famine forced many Irish to flee their country, creating a large Irish diaspora. The United States was a popular destination for emigrating Irish. In fact, the Irish population in the U.S. is more than five times that of the population in Ireland. Irish immigrants brought soda bread with them, along with other traditional Irish dishes and cultural traditions.
Today, Irish Soda Bread is closely associated with St. Patrick’s Day in the United States but is more of a year-round staple in Ireland.
How to Make Irish Soda Bread
With just four basic ingredients, this is one of the easiest types of bread to make. There’s no rising, no proofing, no kneading.
Although there are recipe variations that include eggs, butter, raisins, currants, sugar, caraway seeds, orange zest, whole wheat flour, or a mix of whole wheat and white flour, I stuck with the basic traditional ingredients. I’m not a skilled baker, so I opted for simplicity with the traditional four-ingredient recipe.
This is super simple. Create a flour mixture with the dry ingredients in a large mixing bowl (I love my Mason Cash bowls). Add in the buttermilk and mix with your hands. The dough should be wet, quite rough, but not sticky.
Turn out dough onto a lightly floured surface and shape it into a large ball. Pat the ball into a round loaf and score an X on the top of the loaf. The cut should be about one-quarter inch deep. There are beliefs and superstitions about why the top of the dough is scored. I like the story that the cut is to let the fairies out. Regardless of the story, the cut also helps the bread rise evenly and cook in the middle as well.
Pop it into the oven to bake, then cool it on a wire rack. Slice off a piece (a serrated knife works best), slather on some butter and enjoy.
(Full recipe and instructions below)
Texture of Irish Soda Bread
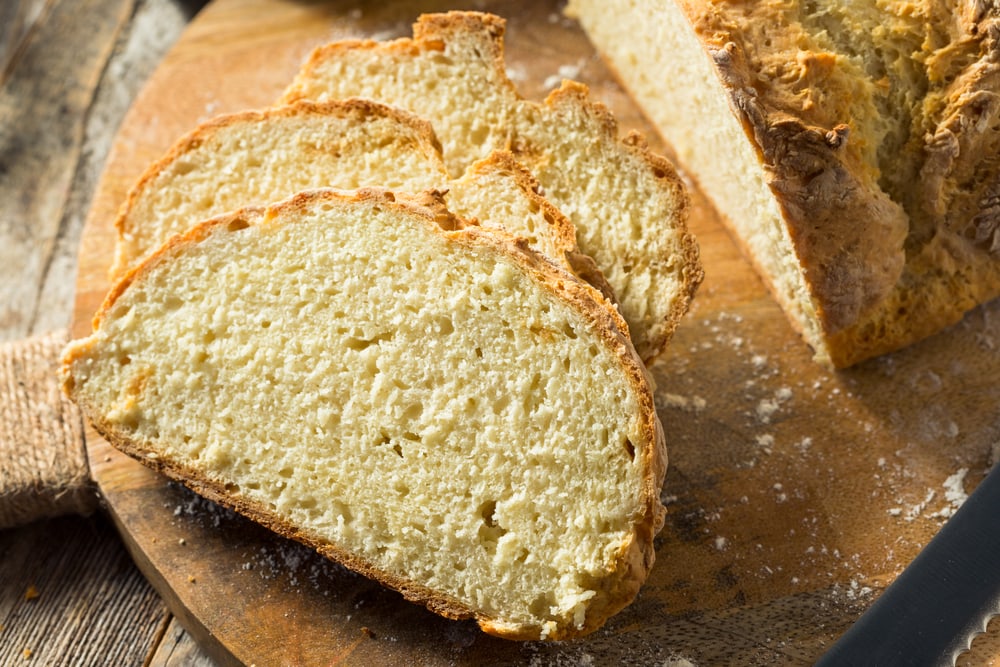
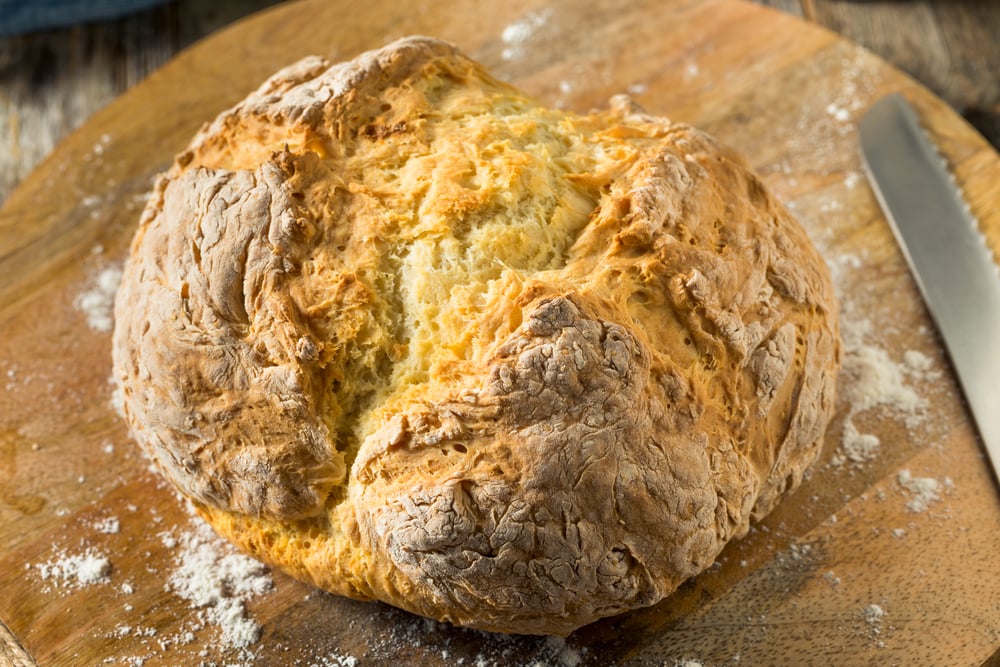
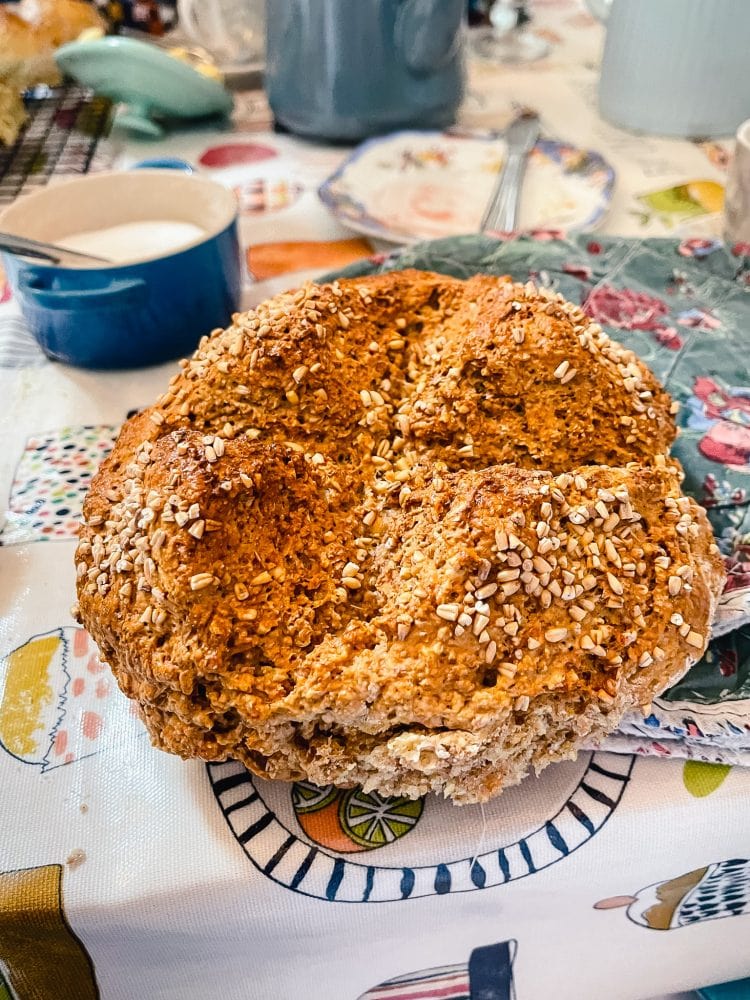
The bread has a crispy golden brown crust and dense light crumb. The traditional recipe has a savory taste and a little bit of tangy flavor from the buttermilk. You might not taste the tanginess when the bread is still hot or warm, but you’ll notice it the next day.
Other Tips for Baking the Perfect Irish Soda Bread
- The less you handle the dough the softer the crumb will be.
- Do not knead the dough. Handle the dough just enough to form into a ball, then a loaf. Over-handling the dough will make the bread tough.
- Preheat the oven to a slightly higher temperature. When you open the oven door it will lower the temperature, even if just open for a short period of time.
- Master the traditional Irish Soda Bread recipe before getting creative with additions and substitutions.
- I’ve baked my Irish soda bread in a dutch oven, a cast iron pan, and a cast-iron skillet. All worked well, and I don’t have a preference.
FAQs (Frequently Asked Questions)
Why is my Irish soda bread so crumbly?
If your Irish soda bread is too crumbly, it may be because you overmixed the dough. Another possibility is that your baking soda was expired and should be replaced. Make sure you are using the correct amount of baking soda in the recipe. Too much or too little can result in a crumbly loaf. It’s also possible that your oven wasn’t hot enough when you baked the bread. Make sure to preheat your oven before baking Irish soda bread and don’t open it frequently during the baking time.
Is it possible to over-knead Irish bread?
Kneading is not required on this soda bread. Just mix the dry ingredients with the wet ingredients and once they are well combined and you have a clean bowl (your dough not sticking to the bowl) you can transfer it to a flat surface to form the shape of the loaf.
How do I check for the doneness of the soda bread?
When it’s done baking, the bread should be golden brown and have a slightly crumbly exterior texture. You can also use a cake testing method – insert a skewer or toothpick in the center of the loaf until it comes out clean. The loaf should make a hollow sound when you tap the bottom of the loaf with your fingertips.
Can I make gluten-free Irish soda bread?
Yes, it is possible with the store-bought gluten-free flour blend and a small amount of xanthan gum. I don’t have to worry about gluten, so I didn’t give this a try. I hear from reputable sources that it creates a tasty gluten-free option.
How do I store Irish soda bread?
If you’re going to eat your bread the same day as you make it, you can store Irish soda bread at room temperature, in a bread box, or wrapped in a clean tea towel.
If you want to keep the bread fresh for longer, you wrap it in aluminum foil or plastic wrap or sealed in a plastic bag. That will give you an extra day or two of freshness. Some people store it in the refrigerator, but I don’t. I think it changes the texture, becoming a little chewy and tough. Reheating can help, and toasting does an even better job, but I make Irish soda bread when I plan to consume it within a day or two.
During a recent baking extravaganza, I made an extra loaf and sliced it up, sealed it in double plastic bags, and put it in the freezer. It will be great to grab a couple of slices and I hope that it freezing it gives me some additional options.
For Pinterest
Recipe for Traditional Irish Soda Bread
Traditional Irish Soda Bread
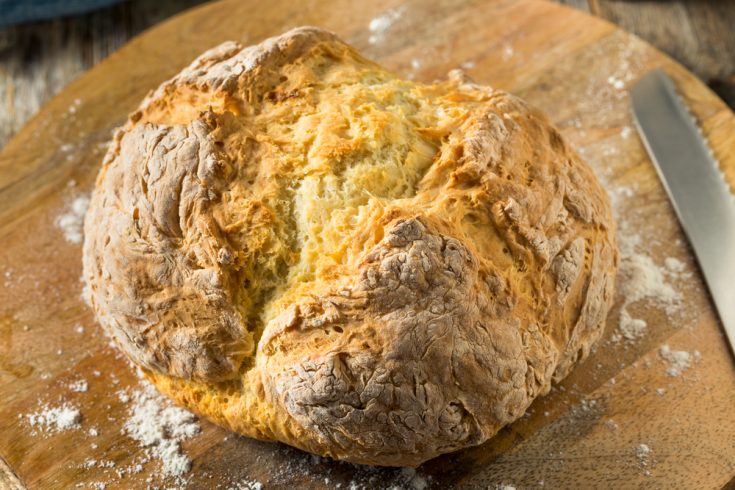
Here is an easy guide on how to make the perfect, delectable Irish Soda bread at home. It is easy to make and you most likely have the ingredients needed in your pantry. With this traditional recipe, you will have freshly baked soda bread in about an hour using only four ingredients.
Ingredients
- 3 1/2-4 cups flour
- 1 1/2 tsp baking soda
- 1 tsp salt
- 1 3/4 cup buttermilk
Instructions
- Preheat oven to 450 degrees.
- Combine dry ingredients (flour, soda, salt) in a large mixing bowl, reserving some flour.
- Gradually add the buttermilk, stirring with a wooden spoon or mixing with your hands. If dough is too sticky, add a little more flour.
- When dough is still wet, but not sticky, turn out onto a floured workspace. Shape dough into a ball.
- Pat the ball in a round loaf to fit into your baking pan. The loaf should almost touch the edges of the pan.
- OPTIONAL: Dust with a sprinkle of rolled oats.
- Place dough into baking pan and score (make an X on top of the loaf), approximately 1/4 inch deep.
- Bake on center rack of oven for 20 minutes.
- Turn oven temperature down to 400 degrees and cook for an additional 20-30 minutes, until the loaf sounds hollow when tapped.
- Cool on wire rack before slicing and serving.
Notes
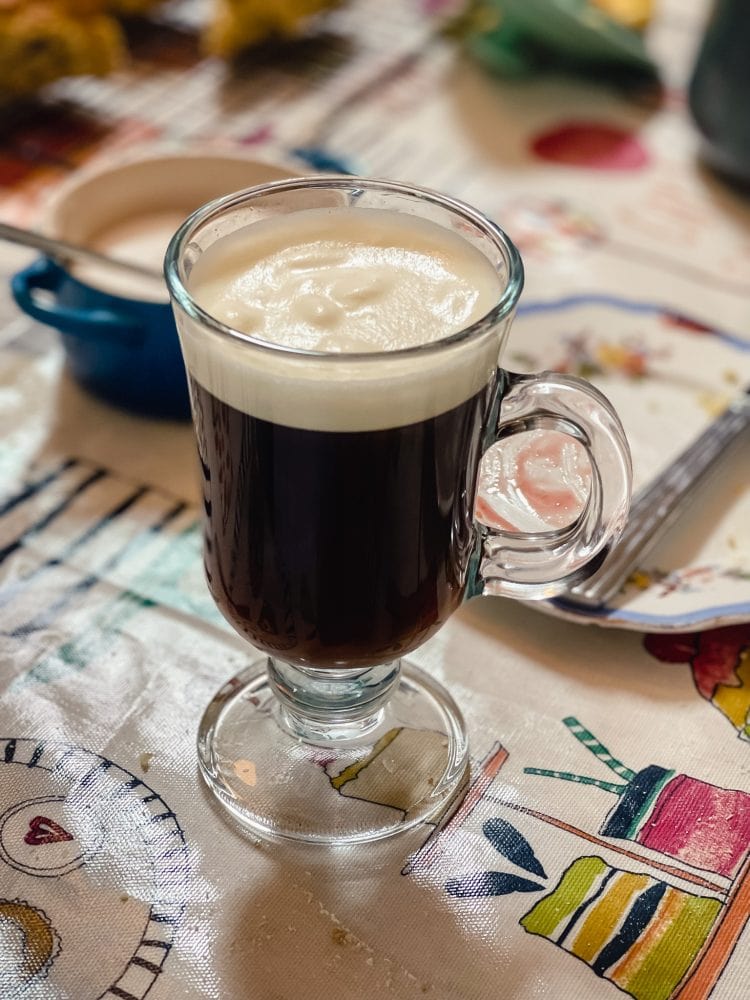
Irish soda bread is not just for St. Patrick's Day! Served it with butter and jam for breakfast or a midday snack. Perfect with a hot cup of tea or Irish Coffee. It goes nicely alongside soups, stews, and other hearty dishes.
Recommended Products
As an Amazon Associate and member of other affiliate programs, I earn from qualifying purchases.
Nutrition Information:
Yield:
10Serving Size:
1 sliceAmount Per Serving: Calories: 654Total Fat: 2gSaturated Fat: 1gTrans Fat: 0gUnsaturated Fat: 1gCholesterol: 2mgSodium: 506mgCarbohydrates: 136gFiber: 5gSugar: 3gProtein: 20g
(NOTE: nutritional information is auto-generated and should only serve as an estimated guideline)


